Meta Muse Image Practical Guide: Controllable Prompts, References, and Revisions
Learn how to use Meta Muse Image for controllable AI visuals: write inspectable five-part briefs, manage multi-reference roles, and iterate across structured revision passes.
A practical guide for creators who need more than a beautiful first draft: clearer constraints, better reference handling, and revisions that keep the image on track.
A surprising number of AI-generated images fail in the last ten percent. The atmosphere is right, the colors are close, and the subject looks plausible—but the layout ignores the copy, the product lands in the wrong hand, the edit changes too much, or the final graphic cannot survive a second round of feedback. These are not really “style” failures. They are direction failures.
That distinction is useful when looking at Meta Muse Image. Its appeal is not simply that it can produce another polished picture from a text prompt. Meta positions it as an image-generation model that can plan through a request, work with multiple references, make targeted edits, and—in some situations—use tools such as web search or code to make a result more accurate. For a creator, the meaningful question is therefore not “Can it make a nice image?” It is “Can it help me turn a visual brief into something I can inspect, correct, and actually use?”
What Meta Muse Image is—and what it is not
Meta introduced Muse Image in July 2026 as an image model from Meta Superintelligence Labs. In its rollout announcement, Meta described access through Meta AI and a broader rollout across selected Meta surfaces; availability remains dependent on region and product surface, so it is worth checking the option presented in your own Meta AI experience.
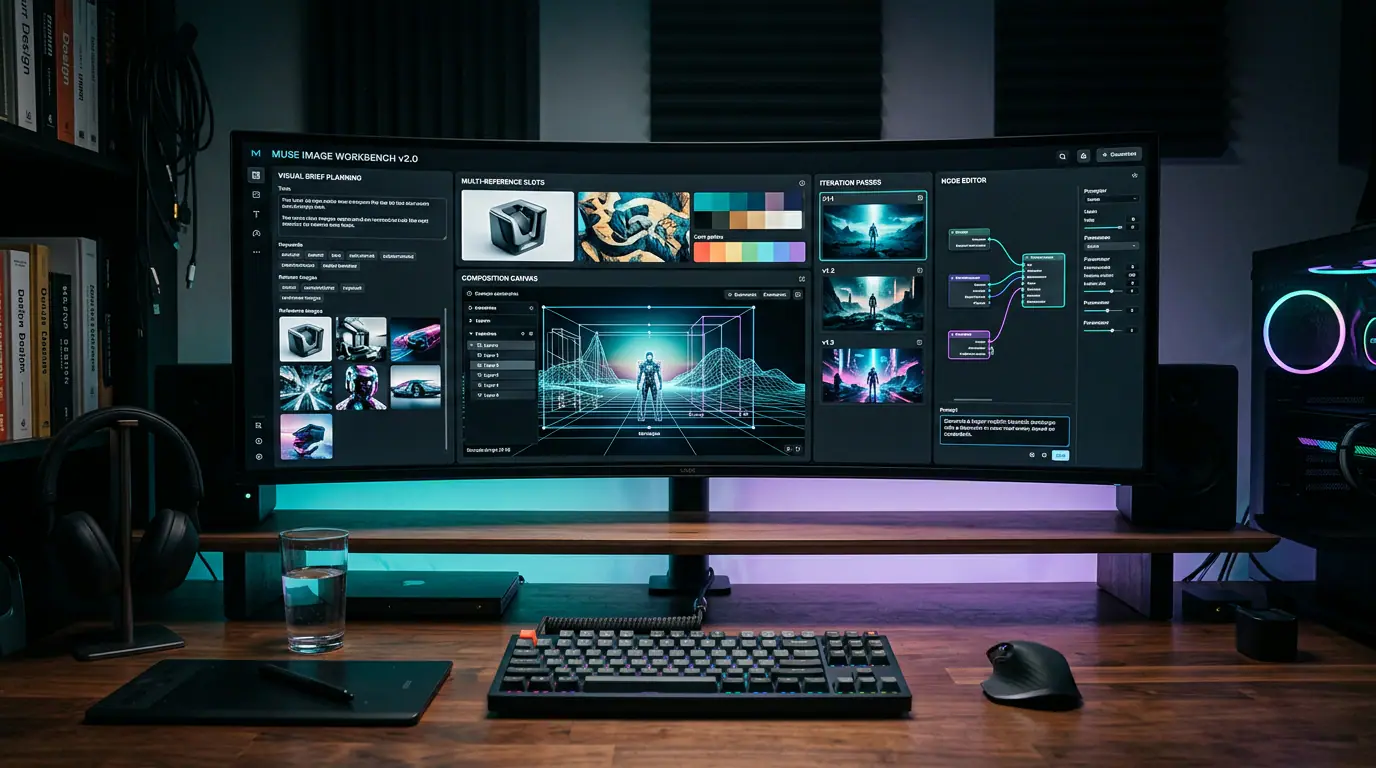
The product is most usefully understood as a conversational visual-workflow tool. You can begin with an idea or an existing image, then refine the result through follow-up instructions. Meta says the model supports tasks such as removing an unwanted background subject, responding to markup or sketch-directed changes, blending several visual references, and rendering text-heavy visuals more clearly than many earlier image workflows. Its more technical release note also describes search grounding, code-assisted generation for tasks such as plots and QR codes, iterative self-refinement, and multi-reference composition.
That does not mean Muse Image should be treated as a magical production department. It cannot replace fact checking, brand approval, rights clearance, or human judgment about whether a design will work in the place where it will be published. It is most promising when you give it a job with observable success criteria.
| If your task is… | Muse Image is worth testing when… | You still need to check… |
|---|---|---|
| A social or campaign visual | The composition, on-image text, and subject hierarchy all matter. | Copy accuracy, brand compliance, and the final crop. |
| A photo correction | You can isolate one clear change: remove, replace, recolor, or reposition. | Whether the edit altered identity, hands, reflections, or key edges. |
| A composite | Each reference has a distinct role: person, product, setting, or style. | Whether ownership and placement remain coherent. |
| A factual graphic | The visual needs a real label, chart, date, map, or code. | Every factual detail and whether a QR code actually scans. |
The model becomes less compelling when the request is fundamentally undefined. “Make it premium” is not a brief. “Create a square product-launch visual: keep the phone centered, use a dark blue surface, reserve the upper third for a six-word headline, and do not alter the device proportions” is something a creator can evaluate.

A controllable visual brief gives the model a subject, an environment, a visual relationship, and a constraint that a human reviewer can verify.
The right use cases are structured, not merely decorative
The strongest creative use cases have a small amount of productive tension. You want the image to feel natural and preserve a specific object. You want a playful scene and readable copy. You want a room to look redesigned and maintain the geometry of the supplied photograph. The more an image must satisfy several explicit conditions, the more useful a planning-oriented workflow can be.
For example, a small business might need a product scene that keeps a real package intact while changing the season, location, and supporting props. A content team may need a clean explainer card with a readable sequence of steps. A filmmaker may need a believable keyframe before developing motion elsewhere. In every case, a one-line style prompt gives the model too much room to improvise. A brief separates what is flexible from what must not move.
This is also why Muse Image’s editing and reference features matter together. A reference image is not just inspiration. It can be evidence: this is the bottle shape; this is the model’s wardrobe; this is the location palette; this is the layout to preserve. The task becomes much easier to steer when each source has a named purpose.
Write a brief that can be checked
A useful prompt does not need to be long. It needs to be inspectable. Before entering anything, write down the answer to five questions: What is being made? Which supplied input is authoritative? What visual grammar should the result follow? What is not allowed to change? How will you know the result is ready?
A compact prompt pattern looks like this:
Task: Create a vertical launch visual for a refillable water bottle.
Authoritative input: Preserve the bottle’s silhouette, cap, label placement, and logo from Image 1.
Scene: Place it on wet black stone at dusk, with a soft teal reflection.
Composition: Bottle centered in the lower half; leave the upper third quiet for headline copy.
Constraint: Do not add text, change the label, or alter bottle proportions.
Acceptance test: The label is readable, the silhouette matches Image 1, and the upper third remains clear.
This pattern has a second benefit: it makes revision cheaper. If the first result is too dark, you can ask for one lighting adjustment rather than re-explaining the whole campaign. If the image has the correct mood but the bottle became distorted, you know the next instruction should reinforce the authoritative reference—not abandon the concept.
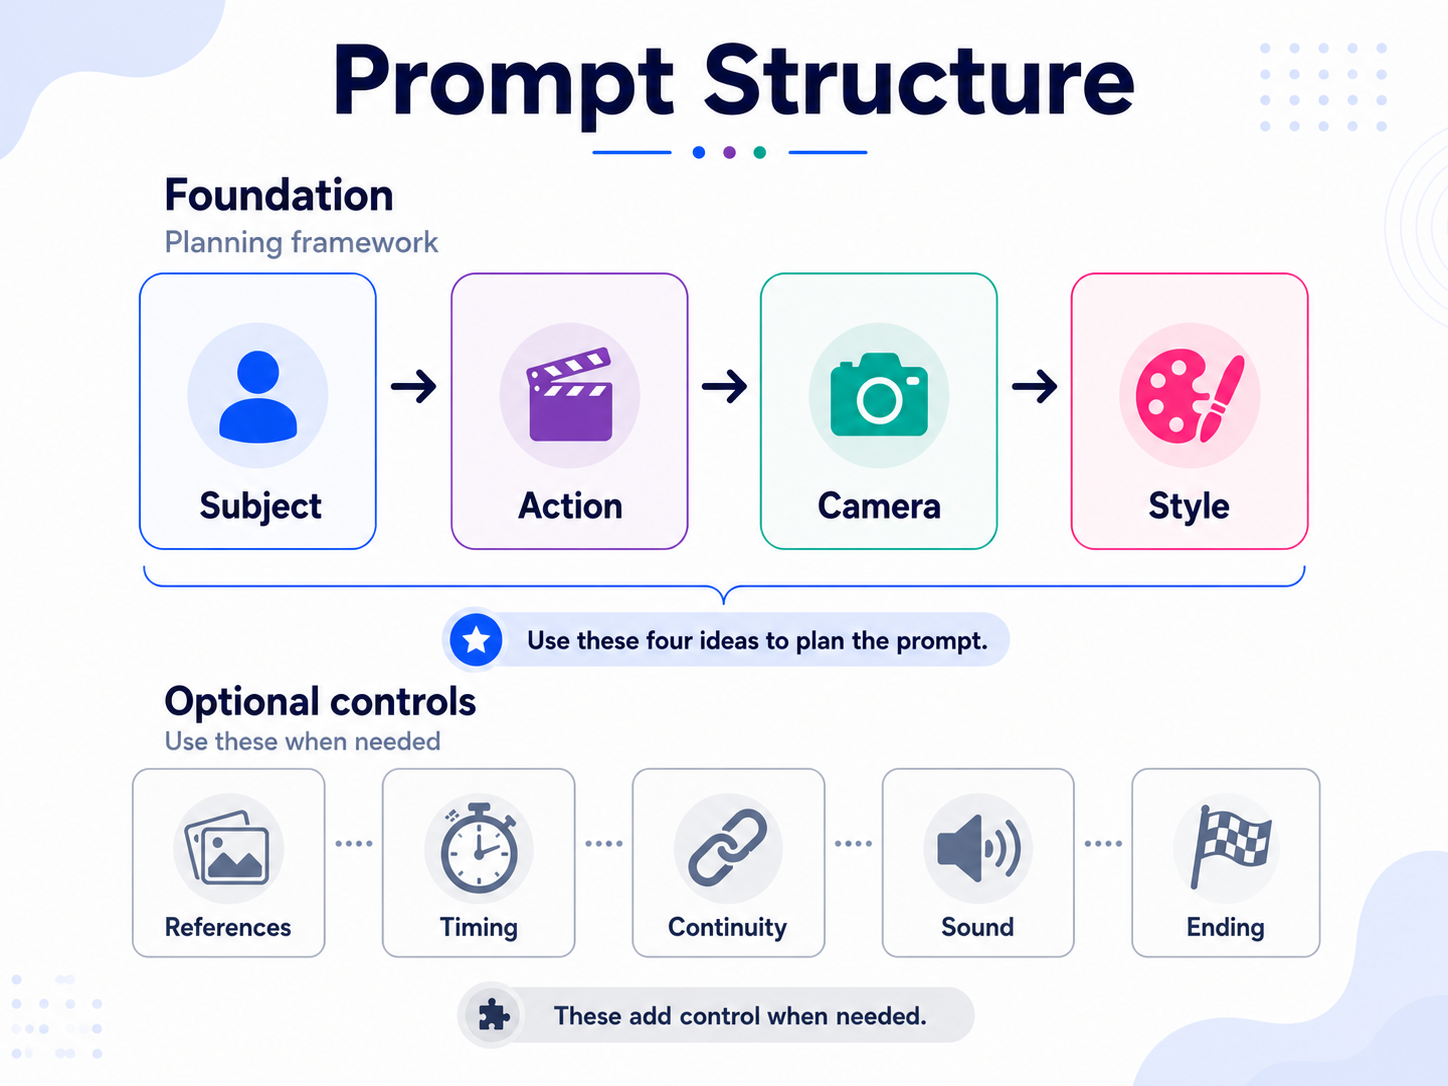
Plan the irreducible visual decisions first. Additional detail is useful only when it removes a real ambiguity.
The underlying discipline is simple: write nouns and relationships before adjectives. Name the object, the target image, the placement, and the allowed change. Add cinematic language after the structure is secure. This avoids a common failure mode in generative work, where a lush mood description overwhelms the one detail that mattered.
Treat reference images as roles, not decoration
Multi-reference generation often fails because the creator uploads several strong images and assumes the intended relationship is obvious. It is not. One image may be a source of style, another may be a source of product geometry, and a third may be the canvas that should change. Unless those roles are stated, the model can merge the wrong pair, transport an object to the wrong scene, or apply the requested edit to the wrong subject.
A better instruction begins with the destination. For instance: “Edit Image 1. Take the ceramic cup from Image 2 and place it on the table in Image 1. Keep the lighting and perspective of Image 1. Do not transfer the background from Image 2.” That one sentence identifies the canvas, the donor, the requested operation, and the protected qualities.
The key decision is not how many references you provide; it is whether the model can tell which image changes and what every other image contributes.
For complex composites, use a short role map in the prompt rather than a paragraph of atmospheric prose.
Image 1: destination canvas and camera angle.
Image 2: product geometry and label design.
Image 3: color palette and material finish only.
Requested change: place the product from Image 2 on the desk in Image 1.
Keep: Image 1 perspective and the product’s label placement.
Avoid: copying Image 3’s composition or adding any new text.
This approach aligns well with Muse Image’s publicly described multi-reference composition and markup-directed editing. If an adjustment is particularly local—move the object five percent to the left, remove one person, replace only a chair—annotating the relevant area can reduce ambiguity further. The annotation is not a substitute for language; it is a way to point the language at the correct part of the image.
Revise in passes instead of asking for a perfect image
The cleanest results usually come from a sequence of modest decisions. Begin with Pass One: composition. Check the framing, size relationship, horizon, empty space, and object placement. Do not waste time reviewing texture before the layout works.
Move to Pass Two: identity and legibility. Examine product proportions, faces when relevant, key labels, signs, UI elements, and factual or numerical content. If you requested a QR code or a chart, test it outside the generation window. An image that looks correct at a glance can still fail at the one detail that matters.
Finish with Pass Three: finish and atmosphere. Only now should you adjust lighting, materials, color temperature, film grain, depth of field, or a more specific stylistic treatment. This order prevents a beautiful surface treatment from hiding a structural error.
Muse Image’s conversational context can be useful here because it lets the creator build on the existing visual rather than restart from scratch. Still, each follow-up should contain one clear request. If you ask to change the background, typography, person’s pose, lighting, and composition at the same time, you lose the ability to diagnose which instruction caused the unwanted change.
Be careful with facts, provenance, and availability
Meta has emphasized accuracy-oriented features, including search grounding and code-assisted visual tasks. Those capabilities are helpful when a request involves current information, structured graphics, or machine-readable elements, but they do not transfer responsibility away from the person publishing the image. Check names, dates, price claims, maps, data labels, and any language that could influence a viewer’s decision.
Provenance deserves the same practical treatment. Meta says images generated in Meta AI and on meta.ai may carry Content Seal, an invisible provenance signal designed to persist through common transformations. If you need to investigate whether an image contains that signal, use Meta’s Content Seal detection tool. It is a useful signal, not a complete trust verdict. A seal does not prove every claim depicted in an image, and the absence of one does not prove a visual is authentic.
For everyday creation, Meta has said Muse Image is available through its free experience, with more generation capacity included in subscription plans. Quotas, country access, feature surfaces, and commercial conditions can change. Treat the live product interface and current terms as the decision point before building a workflow around any specific limit.
From a resolved still to a motion brief
A well-made still is often the beginning of a video idea, not the end. Once Muse Image has helped you settle the subject, product geometry, palette, and composition, a separate image-to-video workflow can use that still as the start frame. The important boundary is that this is a next stage, not a claim that Muse Image itself is currently making the final video.
The motion prompt should be shorter than the image brief. Describe what the audience will see in playback order: subject, action, camera, and style. “The bottle remains fixed on the stone; condensation gathers; the camera performs a slow two-second push-in; dusk reflections ripple softly” is more actionable than “make it cinematic.”
When you introduce motion, keep the original image’s job clear and specify the single action and camera movement that the clip must preserve.
| A 20-minute first test | What to do | What a useful result tells you |
|---|---|---|
| Minutes 0–5 | Choose one visual with a real constraint: readable copy, an object to preserve, or an exact placement. | Whether the task is specific enough to evaluate. |
| Minutes 5–10 | Create the first draft using the five-part brief. | Whether the layout and authoritative input hold. |
| Minutes 10–15 | Make one local edit only. | Whether the conversation retains the intended context. |
| Minutes 15–20 | Review the result at publishing size and test factual elements. | Whether the output is ready to use, needs another pass, or calls for a different tool. |
The best first experiment is not an abstract beauty contest between models. It is a small job you already have: a product scene that needs an unchanged package, a social card that needs legible wording, a room concept that keeps its floor plan, or a composite with a clear source and destination. If Muse Image helps you reach a reviewable draft with fewer detours, it has earned a place in the workflow.
When you are ready to run that test, open Meta AI with one concrete image brief rather than an open-ended wish. The goal is not to make the model guess what you meant. The goal is to give it enough structure to help you make the image you had in mind.